


The kitchen is often referred to as the heart of the home. Modernizing this space can significantly enhance your home's value and aesthetic appeal. One effective and budget-friendly way to revamp your kitchen is by replacing cabinet doors. This guide will walk you through the process of upgrading your kitchen by replacing your cabinet doors, ensuring a fresh look without a complete remodel.
Why Replace Cabinet Doors?
Over time, cabinet doors can become worn, outdated, or damaged, making your kitchen feel drab. Replacing only the doors rather than entire cabinets can be a smart choice for several reasons:
- Cost-Effective: Replacing cabinet doors is significantly cheaper than a full kitchen renovation.
- Quick Update: Switching out cabinet doors can dramatically alter the appearance of your kitchen in a short time.
- Customizable: With numerous styles, materials, and finishes available, you can achieve a custom look tailored to your aesthetics.
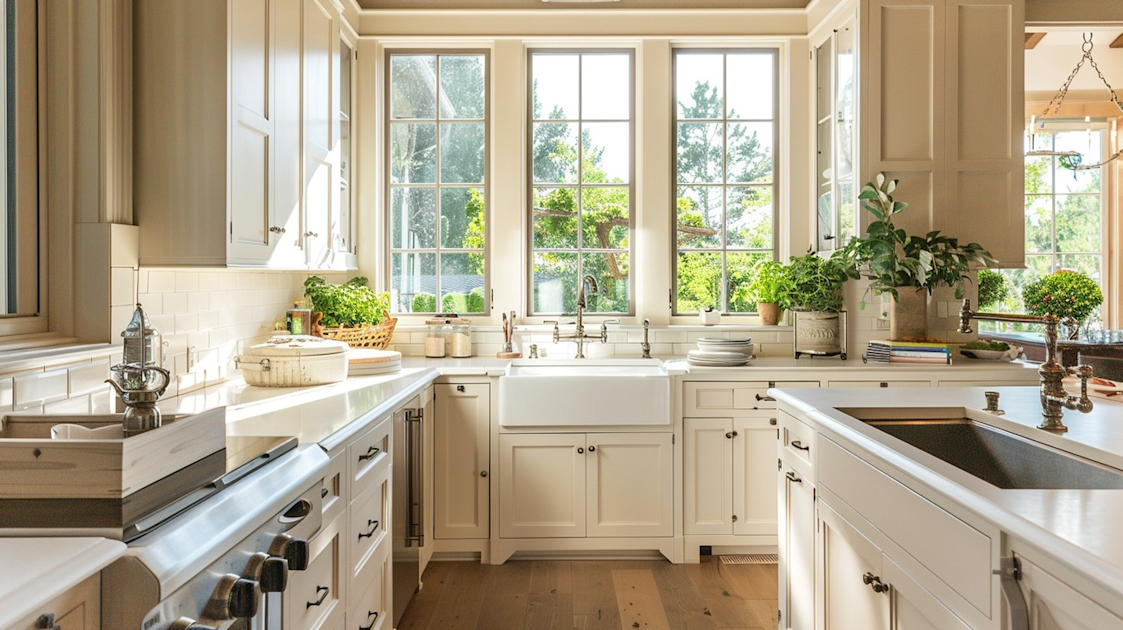
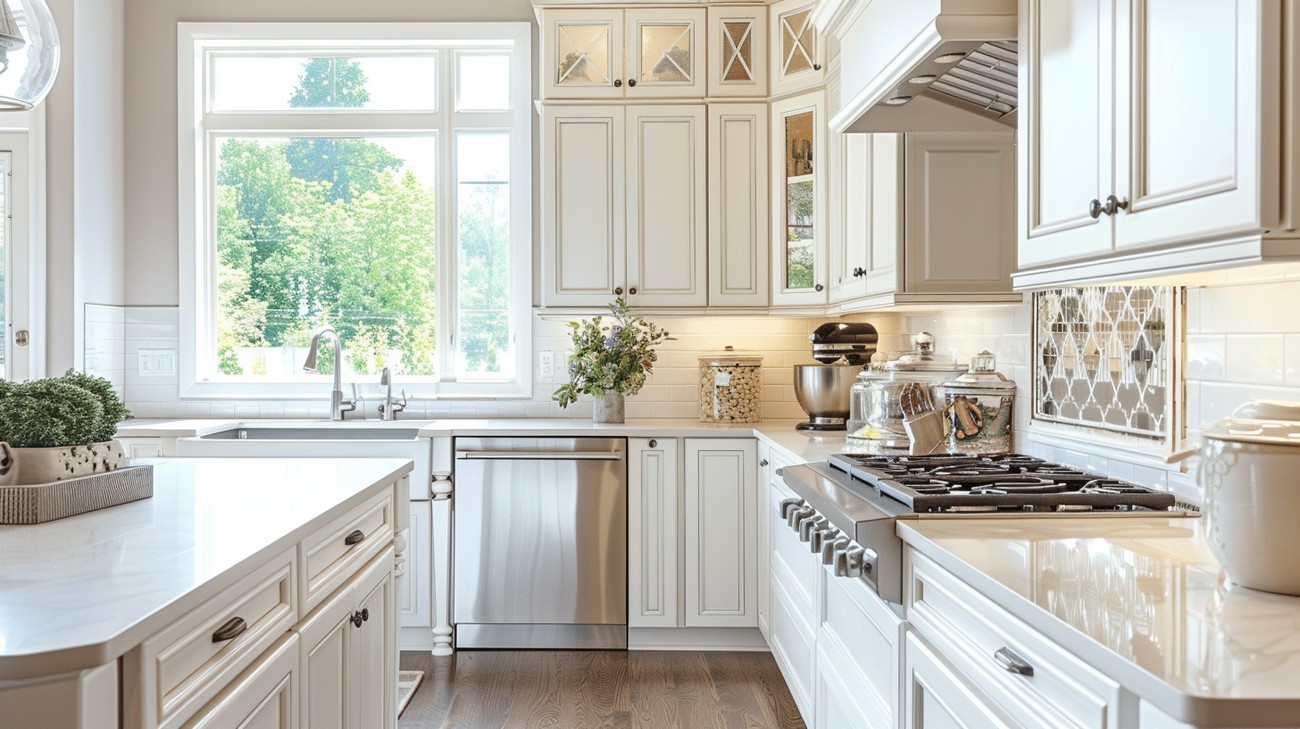
Choosing the Right Style
Choosing the right style for your new cabinet doors is crucial to defining the overall look of your kitchen. Consider these popular styles:
- Shaker: Known for their simple, clean lines, Shaker-style doors are versatile and can fit both traditional and contemporary kitchens.
- Flat-Panel: Ideal for modern aesthetics, flat-panel doors offer a streamlined and minimalist appearance.
- Inset Doors: These provide a classic look, with doors set within the frame for a flush finish.
- Glass-Front Doors: Perfect for displaying attractive dishware, glass-front cabinet doors add elegance and depth to your kitchen.
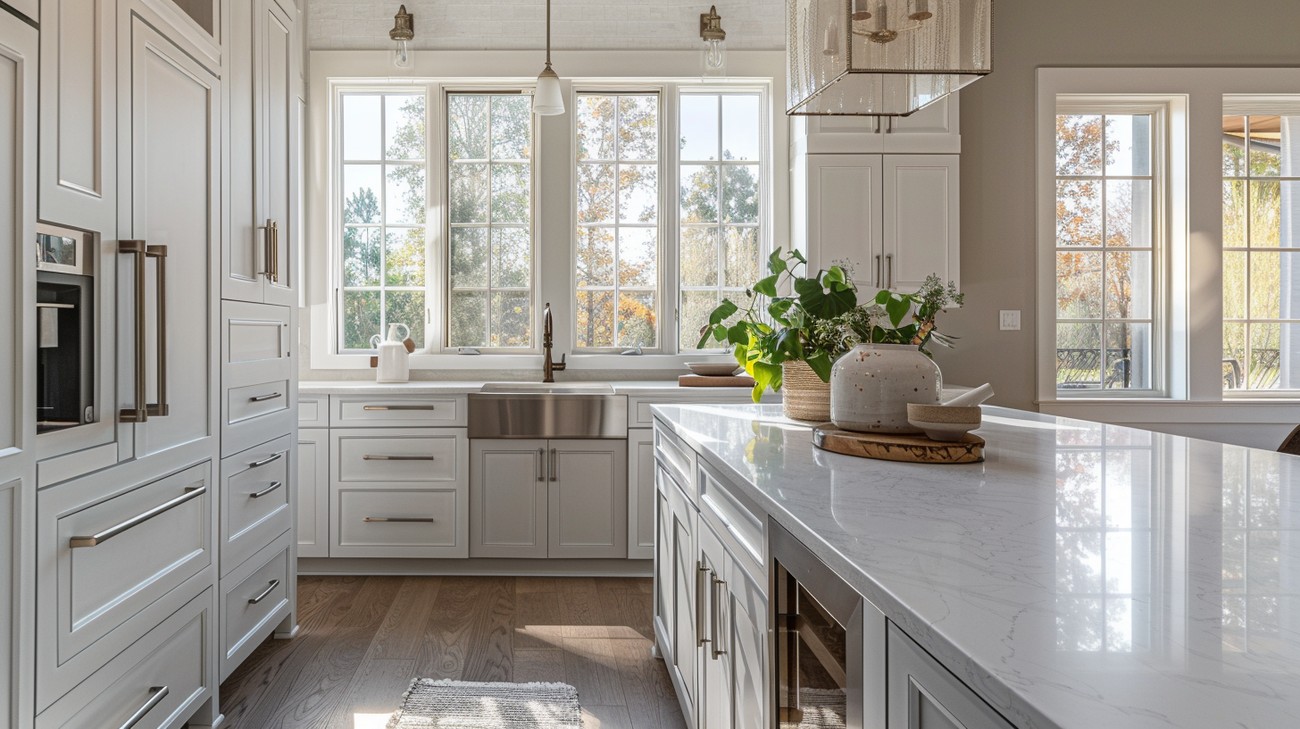
Materials Matter
The material you choose for your cabinet doors will impact the durability, appearance, and cost of your kitchen update:
- Solid Wood: Offers a traditional look and timeless appeal, but can be more expensive and requires regular maintenance.
- MDF (Medium-Density Fiberboard): A budget-friendly option, MDF is smooth and easy to paint but is less durable in humid environments.
- Laminate: Durable, easy to clean, and available in a variety of finishes, though it lacks the depth of natural wood.
- Thermofoil: A synthetic material that is cost-effective and comes in a variety of finishes, yet can be susceptible to heat damage.
Measuring for Success
Accurate measurements are key to ensuring a perfect fit for your new cabinet doors:
- Height and Width: Carefully measure the height and width of each door, double-checking your measurements before ordering.
- Hinge Placement: Measure the distance from the top and bottom of the cabinet to where the hinge should be placed.
- Overlay Requirements: Determine if you need full or partial overlay doors depending on your cabinet frame type.
Tools and Supplies Needed
Before starting your project, gather essential tools and supplies:
- Screwdriver or cordless drill
- Measuring tape
- Level
- Cabinet door hinges
- Finishing materials (sandpaper, paint, or stain)
- Safety gear (gloves and goggles)
Step-by-Step Replacement Process
Replacing cabinet doors involves several steps, but with careful planning and execution, it can be a DIY-friendly project:
Remove Old Doors
Begin by removing existing doors. Unscrew the hinges and carefully take off each door. Label each door and hardware to make it easier to match new doors with existing openings.
Prepare the Frames
After removing old doors, clean and sand your cabinet frames to ensure they are ready for new doors. Repair any damage, such as cracks or chips, and paint or stain frames if necessary.
Install New Hinges
Secure the new hinges to the inside of the cabinet frames. Use a level to ensure the hinges are straight and properly aligned.
Attach New Doors
Align the new cabinet doors with the hinge placements. Attach the doors, making sure to check that they hang evenly and can open and close without issue.
Add Finishing Touches
Once doors are secured, add desired finishing touches such as knobs or pulls to complete the look. Ensure any adjustments for alignment and tightness are made for optimal functionality.
Finishing and Maintenance
To maintain the new look of your cabinet doors, commit to regular cleaning and maintenance. Consider these tips:
- Regular Cleaning: Use a mild detergent and soft cloth for regular cleaning, avoiding abrasive materials that can damage finishes.
- Repair Scratches & Dents: Address any minor scratches or dents promptly with appropriate touch-up kits to maintain aesthetic appeal.
- Adjust Hinges & Hardware: Periodically check hinges and hardware for any loosening or misalignment due to regular use.
FAQ Section: Replacing Cabinet Doors
What should I consider before replacing cabinet doors?
Before diving into cabinet door replacement, assess the condition of your existing cabinets. Ensure that the cabinet boxes are in good shape and worthy of a facelift. Consider the style you want, such as modern, traditional, or farmhouse, as new doors will significantly influence the overall appearance. Budget is another critical factor; ensure you have a clear understanding of how much you're willing to spend.
How do I measure for new cabinet doors?
Accurate measurements are key when replacing cabinet doors. Start by measuring the width and height of each door. Remember to account for any overlays if the doors will overlap the cabinet frame. If you have inset doors that fit within the frame, measuring the internal frame dimensions precisely is crucial. Always double-check your measurements to avoid ordering errors.
Can I install the new cabinet doors myself?
Yes, many DIY enthusiasts successfully install new cabinet doors. You'll need basic tools like a drill, screwdriver, and measuring tape. If you’re comfortable with DIY tasks, it can be a rewarding project. Keep in mind that following the manufacturer's instructions is essential to ensure the doors are properly aligned and operate smoothly.
What types of materials are available for replacement cabinet doors?
Replacement cabinet doors come in a variety of materials. Solid wood doors are a popular choice for their durability and rich appearance but can be more expensive. Veneered MDF doors provide a smooth finish at a lower cost. Thermofoil doors offer a durable and easy-to-clean surface, while laminate doors are budget-friendly and come in many colors and styles.
Are there different styles of cabinet doors I can choose from?
Absolutely, when replacing cabinet doors, you have a plethora of styles to choose from. Shaker-style doors are timeless and versatile. Raised panel doors offer a classic look, while flat panel or slab doors offer a sleek, modern style. Consider glass insert doors for a touch of elegance, or louvered doors for a unique, airy design.
How do I match new cabinet doors with existing cabinets?
To match new doors with existing cabinets, consider the color, finish, and texture. If the new doors are unfinished, try staining or painting them to match the existing cabinetry. Alternatively, opting for a complementary or contrasting finish can create a stylish and cohesive look. Bringing home samples or swatches can help ensure a good match.
What is the cost involved in replacing cabinet doors?
The cost of replacing cabinet doors can vary widely based on material, style, and size. On average, expect to pay anywhere from $50 to $200 per door. Custom-sized doors or those with special features like glass inserts will typically cost more. Don’t forget to factor in hardware costs if you’re upgrading hinges and handles, as well as potential labor costs if hiring a professional.
How long does it take to replace cabinet doors?
The time it takes to replace cabinet doors depends on the size of your kitchen and whether you’re doing it yourself or hiring professionals. For a small to medium-sized kitchen, a DIY installation can take a weekend. Professional installers can usually complete the job in a day, provided there are no complications with door fit or cabinetry.
Can I repaint my replacement cabinet doors?
Yes, repainting replacement cabinet doors is a great way to customize your kitchen. Ensure the doors are clean and free of dust and grease before you start. Sanding them lightly can help the paint adhere better. Use a primer if the doors are bare wood or very dark, and apply the paint with a brush or roller for a smooth finish.
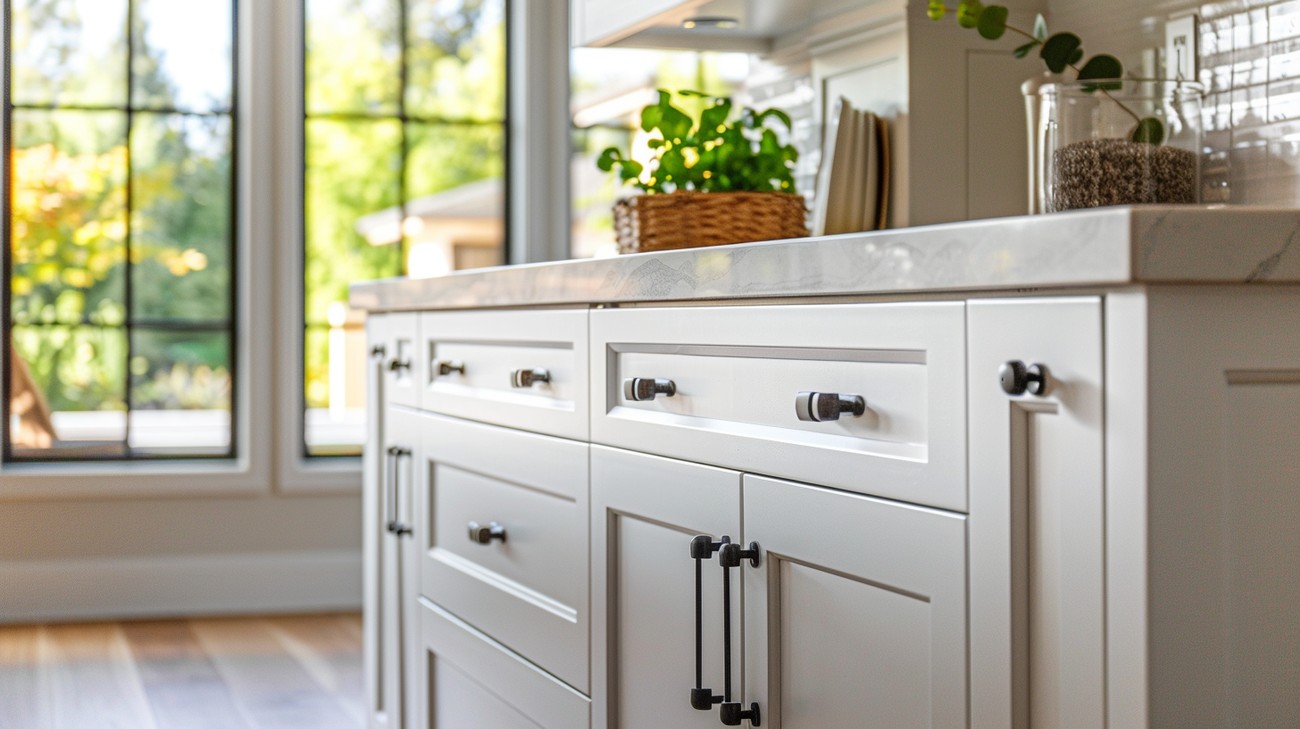
Do I need to replace cabinet hardware when replacing doors?
Replacing cabinet hardware is optional, but it can make a significant impact. New hardware can update the look of your kitchen and improve functionality. If your current hardware is worn or doesn’t match your new doors, consider upgrading. Ensure the new hardware’s hole patterns match the existing ones or be prepared to drill new holes.
What should I do with my old cabinet doors after replacement?
After replacing cabinet doors, you have several options for dealing with the old ones. Consider donating them if they’re in good condition. Some recycling centers might accept them, or they could be repurposed for other projects, like shelving or crafts. If disposing of them, check local regulations to ensure you do so responsibly.
Step-by-Step Guide
Tools and Materials Needed
- Screwdriver or power drill
- Tape measure
- Pencil
- Level
- Cabinet door hinges
- New cabinet doors
- Screws (often included with hinges)
- Painter's tape
- Sandpaper (if adjustments are necessary)
- Safety goggles
- Dust mask
- Step ladder (if working on tall cabinets)
Preparation Steps
Measure Existing Doors: Carefully measure the height and width of your current cabinet doors. Note these measurements to ensure your new doors will fit perfectly.
Select New Doors: Choose new cabinet doors that match the measured dimensions. You can select from a variety of styles and finishes to fit your taste and budget.
Gather Tools and Materials: Ensure you have all the tools and supplies listed above. Having everything on hand will streamline the process.
Clear the Area: Remove any items from the cabinets and clear the workspace. This will prevent accidents and make the installation easier.
Detailed Instructions
Remove Old Doors: Use a screwdriver or drill to remove the screws from the hinges of the existing cabinet doors. Carefully set aside the old doors, noting the placement of hinges for reference.
Mark Hinge Locations: Using a pencil, lightly mark the inside of the new doors where the hinges will attach. These should align with the existing positions unless you’re repositioning them. Double-check the measurements.
Attach Hinges to New Doors: Align the hinge with the pencil marks on your new door. Secure each hinge with screws using your screwdriver or drill. Make sure the hinges are flush with the edge of the door.
Install the New Doors: With a helper if necessary, hold the door in place and attach it to the cabinet frame. Begin by screwing the hinges into the cabinet frame, ensuring that the door aligns evenly with the frame.
Level the Doors: Use a level to make sure the doors hang straight. If adjustments are needed, slightly loosen the screws, reposition, and retighten.
Check Alignment and Operation: Open and close each door to ensure smooth movement and correct alignment. If a door sticks or is uneven, adjust the hinges as necessary.
Secure all Screws: Once you're satisfied with the alignment and movement of each door, ensure all screws are tight.
Tips for Success
Use a Helper: A second pair of hands can help steady the doors while you secure them.
Label Everything: Use painter's tape to label each door and hinge as you remove them. This will help you remember where everything goes.
Pilot Holes: If you’re concerned about splitting the wood, drill pilot holes slightly smaller than your screws.
Sand Rough Edges: If a door doesn’t fit properly, use sandpaper to subtly adjust the edges.
Consistent Hardware: For a cohesive look, ensure all hinges and handles match in finish and style.
What to Do if Something Goes Wrong
- Misaligned Doors: If doors are misaligned, first check the level. Loosen the hinge screws slightly, make the necessary adjustments, and re-tighten.
- Doors Not Closing Properly: Ensure that the hinges are not too tight. Loosen the screws slightly to see if this resolves the issue.
- Holes Not Aligning: If holes aren’t aligning, you may need to re-drill screw holes. Carefully measure and mark new positions before making adjustments.
- Damaged Cabinet Frame: If the cabinet frame gets damaged during the process, fill any gouges or holes with wood filler. Once dry, sand the area smooth.
- Broken Hinges or Hardware: Keep extra hinges or hardware on hand to replace any that break during installation.
Common Mistakes to Avoid
1. Not Measuring Doors Correctly
This mistake often happens because people assume that their current cabinet doors are standard sizes. Unfortunately, incorrect measurements can lead to ordering the wrong-sized doors.
How to Avoid It: Always measure the height and width of each cabinet door precisely, including any special notches or angles. Double-check your numbers before purchasing new doors.
What to Do If You’ve Made the Mistake: If you've already ordered the wrong size, check the return policy of the supplier. You might be able to exchange the doors for the correct size. Alternatively, consult a carpenter to see if the doors can be resized to fit your cabinets.
Expert Recommendations: Use a steel measuring tape for accuracy, and consider using a digital measuring tool if available. Measure twice just to be sure.
2. Ignoring Hinge Placement and Type
Hinge placement often gets overlooked because people assume all hinges are the same. Wrong placement or type can result in poorly aligned or non-functional doors.
How to Avoid It: Carefully note where each hinge is placed and what type you have (concealed, exposed, etc.). Take photos for reference before removing the old doors.
What to Do If You’ve Made the Mistake: If hinges are already misaligned, remove the doors and realign the hinges according to your reference photos. If you’ve used the wrong type of hinges, you might need to purchase the correct kind and reinstall.
Expert Recommendations: Consult the hardware store or a professional about the best type of hinge for your specific cabinets to ensure compatibility and functionality.
3. Choosing Incompatible Door Materials
Choosing the wrong material can affect both aesthetics and durability. This mistake happens when individuals prioritize cost over quality or overlook climate considerations.
How to Avoid It: Consider the kitchen environment and how much wear your cabinets will endure. For example, avoid MDF in humid climates because it can swell.
What to Do If You’ve Made the Mistake: If you've already installed incompatible materials, keep an eye on them for signs of damage. Meanwhile, plan for a possible replacement in the future.
Expert Recommendations: Always opt for high-quality materials that fit your specific needs. Discuss with a home improvement expert if unsure.
4. Mismatching Door Styles with Kitchen Design
A style clash often results when homeowners select new doors without considering their existing kitchen decor. This happens when aesthetic choices aren't aligned with the kitchen's overall design theme.
How to Avoid It: Match the door style to the existing design of your kitchen. Look at samples in your kitchen's lighting to see how they truly appear.
What to Do If You’ve Made the Mistake: If your door styles clash with your kitchen, consider repainting the doors or incorporating elements that tie them into the decor, such as matching knobs or adding accents.
Expert Recommendations: Bring a photo of your kitchen when shopping for doors, or consult with a kitchen designer to suggest styles that complement your existing decor.
5. Skipping Sanding and Priming
Property owners often fall into skipping sanding and priming either to save time or because they are unaware of its importance, leading to poor paint adhesion.
How to Avoid It: Always sand and prime your cabinet doors before painting. This ensures the paint adheres well and leads to a lasting, smooth finish.
What to Do If You’ve Made the Mistake: If your paint is peeling or flaking, you'll need to remove it, sand down the doors, apply a primer, and repaint. It’s more work, but necessary for a quality finish.
Expert Recommendations: Use fine-grit sandpaper and high-quality primer for the best results. Seek professional advice on the best paint type for your door material.
6. Underestimating the Project Timeline
People frequently underestimate the time needed because they don't factor in drying times for paints and adhesives or potential setbacks.
How to Avoid It: Plan a realistic project timeline by including buffer time for drying and unexpected issues. Don’t rush the process.
What to Do If You’ve Made the Mistake: If you find yourself rushing, take a step back and reassess your timeline. It’s better to extend your completion date than compromise on quality.
Final Thoughts
Replacing cabinet doors can transform your kitchen or bathroom without the need for a complete overhaul. Whether you're looking to update your space with a fresh style or simply want to replace worn-out doors, choosing the right materials and finishes can make all the difference. Plus, it’s a rewarding DIY project or an effective way to enhance your home's value, especially for homeowners in Bellevue, WA.
If you're considering this upgrade, we at New Day Construction are here to help you every step of the way. From offering expert advice on your choices to assisting with the installation process, our team is dedicated to making your vision a reality. We invite you to reach out for a consultation or request a free estimate, and let’s get started on elevating your space together!


