


When it comes to home improvement and woodworking projects, understanding the materials you work with is crucial. One such versatile material is tongue and groove boards. Often favored for their ease of installation and elegant finish, these boards can be found in a variety of applications, from floors and ceilings to walls and even outdoor structures. In this comprehensive guide, we'll delve into what tongue and groove boards are, their uses, installation tips, and everything in between.
What are Tongue and Groove Boards?
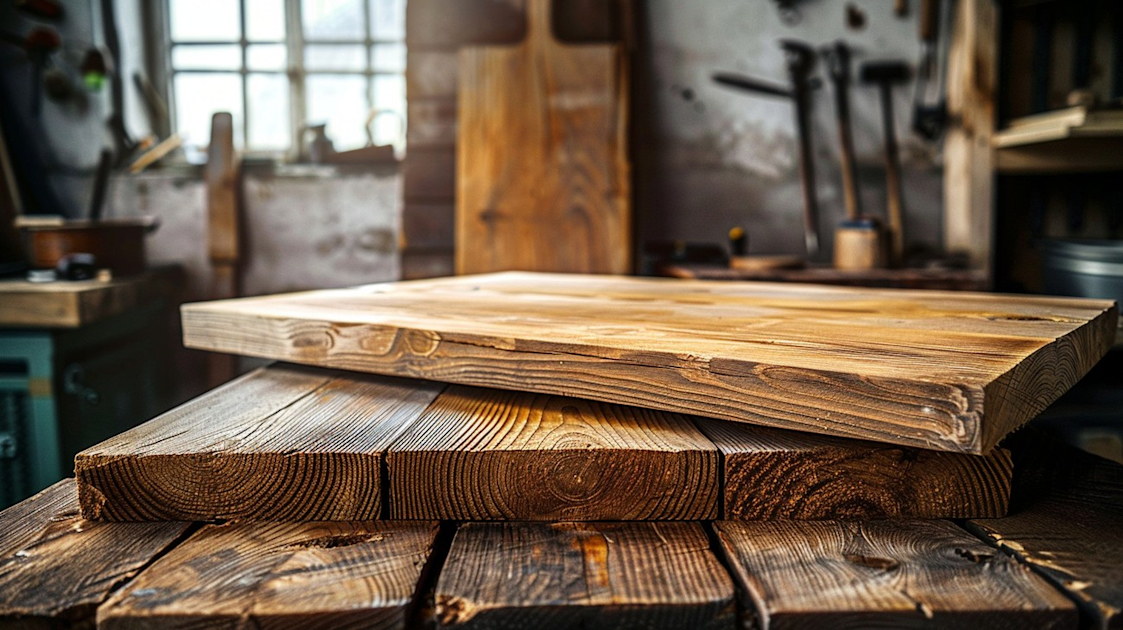
Tongue and groove boards are wooden planks designed to fit seamlessly together. Each board has a tongue on one side and a corresponding groove on the opposite side. This design allows the boards to be tightly joined, creating a flat surface with minimal visible seams. This feature not only increases the overall strength and stability of the surface but also provides a cleaner, more refined appearance.
History of Tongue and Groove
Historically, tongue and groove was developed as a method to combat the natural shrinkage and expansion of wood. Ancient carpenters aimed for a joint that would stay tight despite the elements, leading to the creation of this interlocking system. The technique has been passed down through generations and adapted over time, finding its place in homes around the world.
Applications of Tongue and Groove Boards
The versatility of tongue and groove boards makes them ideal for various applications:
- Flooring: One of the most common uses, where the tight seams create a sturdy and visually appealing surface.
- Wall Paneling: Adds a decorative touch to any room while simultaneously protecting plastered walls.
- Ceilings: Provides a classic look, effectively hiding imperfections in ceiling spaces.
- Outdoor Structures: Such as sheds and barns, where durability and protection against weather are vital.
Benefits of Using Tongue and Groove
Seamless Finish
The interlocking design of tongue and groove boards contributes to a smooth, seamless finish. This makes them a preferred choice when aesthetics are a priority.
Enhanced Durability
By fitting securely together, these boards distribute weight and stress more evenly. This improves the longevity of the surface and often eliminates common issues such as warping or cupping.
Easy Installation
For DIY enthusiasts, tongue and groove boards are user-friendly. Their design simplifies alignment, making installation much easier compared to traditional plank systems.
Sound Insulation
Due to their density and the airtight fit, tongue and groove boards offer soundproofing benefits, which is an advantage for anyone looking to create a quiet home environment.
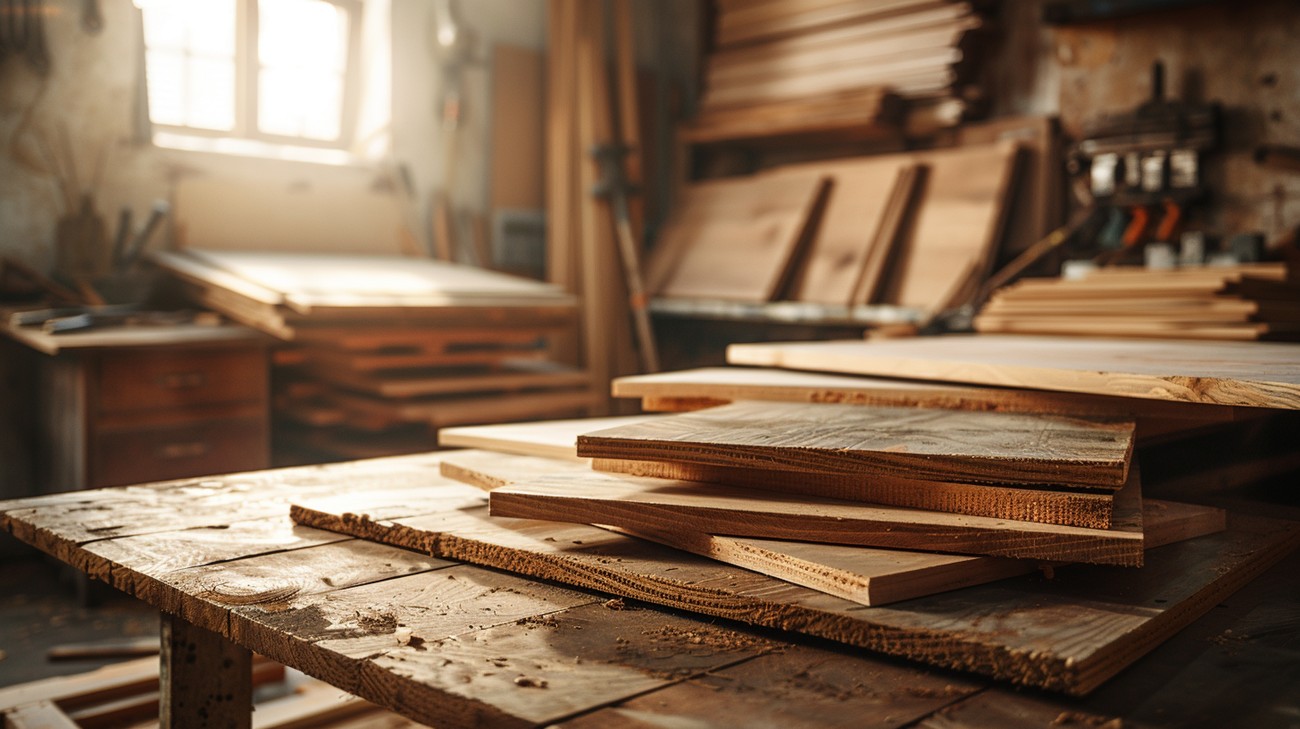
Types of Wood Used
Choosing the right type of wood is essential, as it affects not only the appearance but also the performance and lifespan of the boards.
- Pine: Affordable and easy to work with, though not as durable as hardwoods.
- Oak: Known for its strength and classic appearance, suitable for high-traffic areas.
- Cedar: Offers natural resistance to rot and insects, perfect for outdoor use.
- Maple: Provides a smooth, even grain for a clean look, ideal for modern designs.
How to Install Tongue and Groove Boards
Preparation
Before starting, it's crucial to properly prepare.
- Acclimate the Wood: Allow the boards to adjust to the room's temperature and humidity for at least 48 hours.
- Check Surface: Ensure the subfloor or wall surface is clean, dry, and flat.
Installation Steps
Measure and Cut: Measure the area carefully and cut your first board to fit. Starting with the longest wall provides a guide for the remaining boards.
Align and Interlock: Lay the first board with its groove side against the wall, using spacers to maintain a consistent gap for expansion. Gently tap additional boards into place with a rubber mallet.
Secure: Use a nail gun or screws to attach the boards firmly, ensuring that nails are driven through the tongue to hide them effectively.
Finish with Trim: Once all boards are installed, cover the gaps and seams with trim for a polished appearance.
Maintenance Tips
Proper care ensures your tongue and groove surfaces stay in top condition.
- Regular Cleaning: Dust and clean with a damp cloth to prevent grime build-up. Avoid excessive water which can warp the boards.
- Refinish as Needed: Depending on use, periodic refinishing may be necessary to maintain a fresh look. Sand down any rough areas and apply a new coat of finish.
- Check for Damage: Inspect regularly for signs of damage or separation and address these promptly to mitigate more extensive repairs.
Design Inspiration
Embrace the aesthetic versatility of tongue and groove boards across various styles:
- Rustic Charm: Use unfinished or reclaimed wood for a cozy, countryside feel.
- Modern Minimalism: Opt for smooth, painted boards that offer a sleek and sophisticated appearance.
- Coastal Vibes: Choose whitewashed boards to evoke a beachside retreat ambiance.
Sustainability Considerations
As more consumers prioritize ecological impacts, sustainable sourcing of tongue and groove boards has gained traction. Look for certified suppliers who practice sustainable forestry. Additionally, opting for reclaimed wood can reduce waste and lend a unique character to your project.
FAQ Section on Tongue and Groove Boards
How are tongue and groove boards installed?
Tongue and groove boards are typically installed by fitting the tongue of one board into the groove of another. This is often done at a slight angle to ease the connection before securing it further. Once connected, the boards are usually nailed or glued to a sub-surface to ensure stability and security. This method allows for a seamless surface with hidden fasteners, which is both aesthetically pleasing and structurally sound. Individuals may choose to stagger the boards for added strength and visual interest, depending on the application.
Where can tongue and groove boards be used?
Tongue and groove boards are incredibly versatile and can be used in a variety of applications. Commonly, they are found in flooring, paneling, and ceilings. These boards are popular in both interior and exterior designs due to their tight fit and durability. In interior spaces, they add a touch of classic charm to rooms, providing a rustic or elegant look depending on the finish. Outdoors, they are often utilized for decking or siding, offering protection against the elements while adding aesthetic value. Always make sure the boards are suited for the intended environmental conditions to ensure longevity.
What materials are tongue and groove boards made from?
Tongue and groove boards can be manufactured from several types of materials, including hardwoods like oak and maple, softwoods like pine and cedar, as well as engineered options such as MDF (medium-density fiberboard) or laminate. Each of these material types has its own unique characteristics. For example, hardwood offers durability and a premium finish, while softwood provides a more affordable option with natural beauty. Engineered boards often provide more stability and moisture resistance, making them suitable for areas like bathrooms or kitchens.
How do tongue and groove boards differ from shiplap?
Though both tongue and groove boards and shiplap provide a similar aesthetic of long, horizontal lines, they differ significantly in their design and function. Tongue and groove boards feature a protruding tongue on one side and a matching groove on the other, which lock together to create a smooth, interlocked surface. Shiplap, on the other hand, features an overlapping rabbet joint. This results in a gap when installed, allowing for small amounts of shrinkage and expansion, which is particularly useful for exterior applications. The choice between them often comes down to the desired look and the level of moisture resistance needed.
Are there special tools required for installing tongue and groove boards?
Installing tongue and groove boards does require some specific tools, although they are typically standard for most woodworking or DIY projects. A saw, such as a miter or circular saw, is essential for cutting the boards to the desired length. A rubber mallet can be quite handy for fitting the boards together without damaging them. A nail gun or finishing nails can be used to secure the boards into place. Additionally, a tape measure is necessary for precise fitting, which ensures a professional look and reduces material waste.
Can tongue and groove boards be painted or stained?
Yes, tongue and groove boards can be painted or stained to match your desired aesthetic. Before applying any finish, it's important to prepare the surface by sanding it smooth and wiping off any debris. If painting, a primer may be necessary to help the paint adhere properly. Staining, on the other hand, requires a wood conditioner to ensure an even finish and prevent blotching, especially on softer woods like pine. After applying your chosen paint or stain, a sealer or protective topcoat will help maintain the finish and prolong the lifespan of the boards.
How do I maintain tongue and groove flooring?
Maintaining tongue and groove flooring involves regular cleaning and periodic inspection. Sweep or vacuum the floor regularly to remove dirt and debris. For deeper cleaning, use a damp mop with a cleaner appropriate for the type of finish. Avoid excessive water exposure, as it can lead to warping or swelling of the boards. Periodically, check the boards for any signs of damage or wear, such as gaps or scratches, and address them promptly. Depending on the finish, a fresh coat of sealer or polish may be required every few years to keep the floors looking their best.
Pros & Cons of Tongue and Groove Boards
Pros
Easy Installation
One of the major perks of tongue and groove boards is their straightforward installation. The design allows each board to fit snugly with the next, making it relatively simple to create a seamless surface. Even if you're not a seasoned DIY pro, you might find that tackling a tongue and groove project is within reach, thanks to its user-friendly nature.
Versatile Applications
Talk about versatility! These boards are a favorite for a variety of projects. Whether it’s walls, ceilings, or floors, they add a touch of character and warmth. You might consider using them to bring rustic charm to a living area or as a durable and visually appealing option for your porch ceiling.
Aesthetic Appeal
There's no denying the timeless beauty that tongue and groove boards bring to a space. They offer a classic look with clean, even lines that can enhance both traditional and contemporary designs. Plus, they come in a range of wood types and finishes, allowing you to tailor the appearance to your taste.
Strong and Sturdy
Thanks to their interlocking design, tongue and groove boards tend to be strong and stable once installed. They hold together firmly, which can lead to fewer issues with warping or shifting over time, especially compared to other types of wood paneling.
Easy to Paint or Stain
If you're someone who likes customization, tongue and groove boards are a fantastic option. They take paint and stain beautifully, so you can easily change the look further down the road if you decide to freshen up your space or shift your decor style.
Cons
Cost Considerations
When it comes to budget, tongue and groove boards might stretch your wallet a bit more than other options like shiplap or plain boards. The craftsmanship involved in creating these boards tends to up their price, so it's worth factoring in the higher initial cost when planning your project.
Requires Accurate Installation
Precision is key with tongue and groove boards. Mess this up, and you'll be dealing with gaps or misalignments that can be quite glaring. You really need to make sure each board is aligned perfectly with its neighbor which might be a test of patience and attention to detail if you're doing this as a DIY project.
Potential for Moisture Issues
If you’re considering tongue and groove for areas with high moisture, think twice. These boards can be prone to water damage if not properly sealed, which might lead to swelling or warping. Extra care in moisture-prone environments like bathrooms or kitchens is critical unless you opt for moisture-resistant materials or finishes.
Somewhat Limited to Wood
While wood is beautiful, the material limitation can be a drawback if you’re looking for something different. There are fewer options in synthetic or alternative materials compared to other types of paneling. So if wood isn’t your thing, you might find the choices with tongue and groove a little limiting.
Time-Consuming for Large Projects
The installation can get a bit time-consuming, especially for large areas. The very feature that makes them look great—the interlocking fit—also means that it can take a while to ensure each board is properly positioned. You’ll want to set aside a block of time to get the job just right.

Final Thoughts
Tongue and groove boards are a fantastic option for anyone looking to enhance the aesthetic and structural integrity of their space, whether it’s for a cozy cabin vibe or a sleek contemporary finish. Their interlocking design not only provides a seamless appearance but also helps minimize any gaps that could lead to moisture issues, making them a smart choice for both interior and exterior applications.
If you’re in Kirkland, WA, we invite you to reach out to New Day Construction to explore how tongue and groove boards can transform your home. Our team is here to answer your questions, discuss your project needs, and provide expert advice tailored to your vision. A simple consultation could open the door to bringing your ideas to life!


